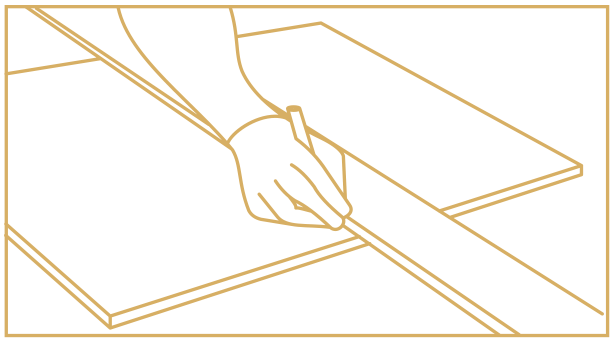
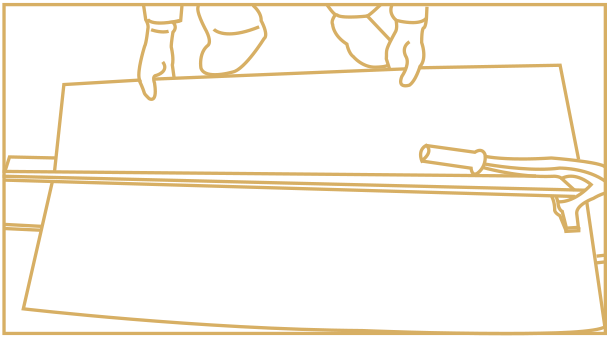
Slim tile can be cut with glass cutter, manual broach in traditional cutting method. In traditional cutting method, replace block wheel with carborundum grinding wheel. Similar to other ceramic products, cutting must be done from front to back.
1
Start to scratch from outer edge with continuous and uniform power on the surface of sheet board.
2
Keep perpendicular to surface; blade can not be away from cutting axis and withont stop. Do not interrupt or repeat scratching.
3
Slim tile is fixed on a stable and flat desktop, so that scratches can be aligned with table edge. Seize it, press down from split edge until it is broken.
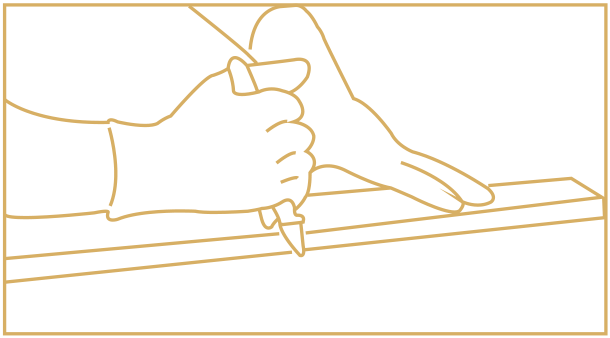
1
Slim tile is placed into broach; align to the cutting edge of broach according to cutting size.
2
Keep pressure down and pull broach without stop. Do not interrupt or repeat scratching.
3
Fetch the cut slim tile.
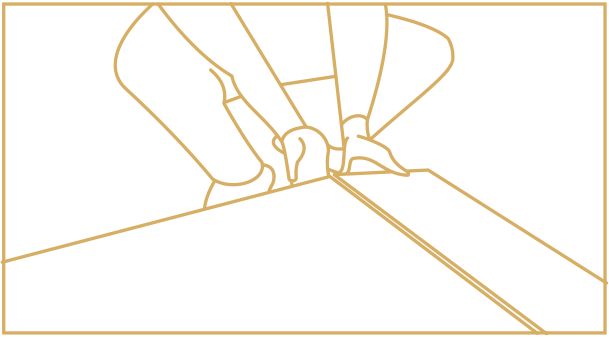
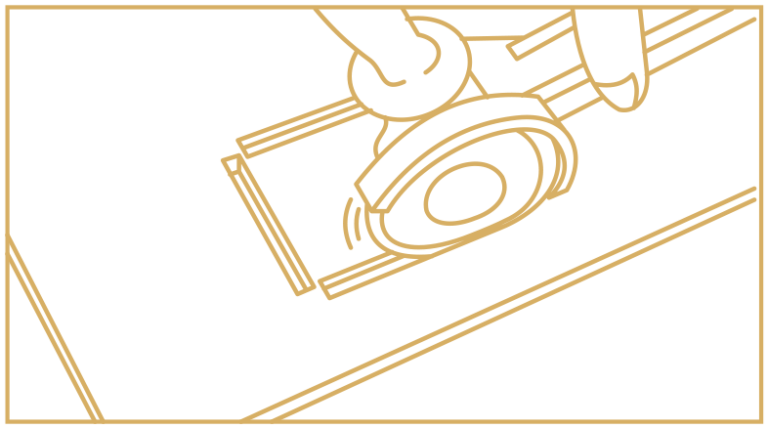
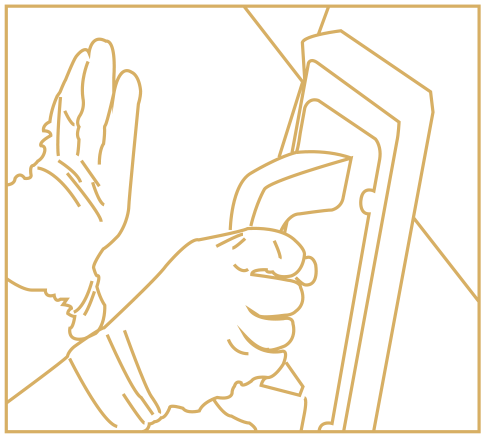
Slim tile can be easily perforated by glass drill and electrical carborundum grinding wheel. Please ensure that tools are in good condition and processing is in a clean and smooth place either dry or wet use. Once drilling or cutting, handle with care and sheet board should be placed into position. Note that opening of drill hole should be operated on the back of sheet board.
1
Glass drill with appropriate diameter can be applied according to actually required holes of different sizes. When drilling, keep tools tilt relative to sheet board.
2
Effect after drilling.
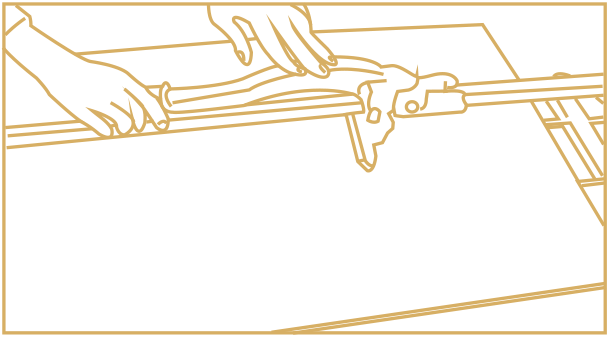
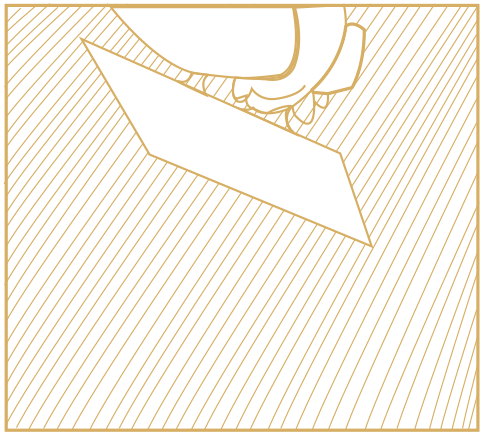
1
Open aperture within sheet board or conduct L-shaped cutting. Carborundum grinding wheel should be used with high speed rotation and low-speed advancement. It is recommended to drill hole on the top of opening-to-cut with small diameter glass drill before cutting.
2
Effect after opening.
1
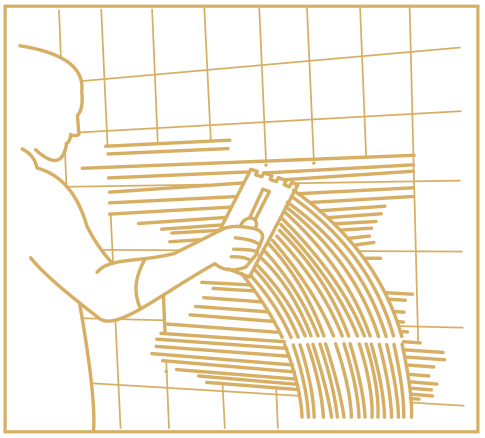
Check the flatness of leveling blanket or existing floor. Fill in concave-convex with leveling mortar.
2
The choice of trowel depends on smoothness and flatness of base. Generally speaking, it is proposed to use helical gear trowel with 6 to 10 mm in base and use helical gear trowel with 3 mm on the back of slim tile.
3
Apply adhesive fully twice. Firstly, smear on the back of sheet board; and then smear on base; pay attention to cover corners and edges, avoid hollowing aperture between base and slim tile.
4
Lay down slim tile gently along base; maintain tilt slightly, adhere it slowly on base.
5
Tap surface with a rubber trowel; pay attention to eliminate air gap and air bubbles. It is ensured to paste corners and edge corners perfectly. During and after floor construction, do not walk on floor immediately. The time for possible walking on floor specified by adhesive manufacturer should be followed.
6
Insert distance measurement; form the brick joint needed.
7
Use rubber trowel to gradually fill in apertures with sealant along caulking diagonal line. In seam cross, press with rubber trowel repeatedly to ensure that seam is completely filled with sealant.
8
Regardless whether left seam needs sealing treatment, clear the adhesives pasted in seam with plaster knife before the initial setting of adhesives but not completed. If contamination is found on the surface of slim tile after pasting, gently wipe away the dirt without causing displacement of slim tile.